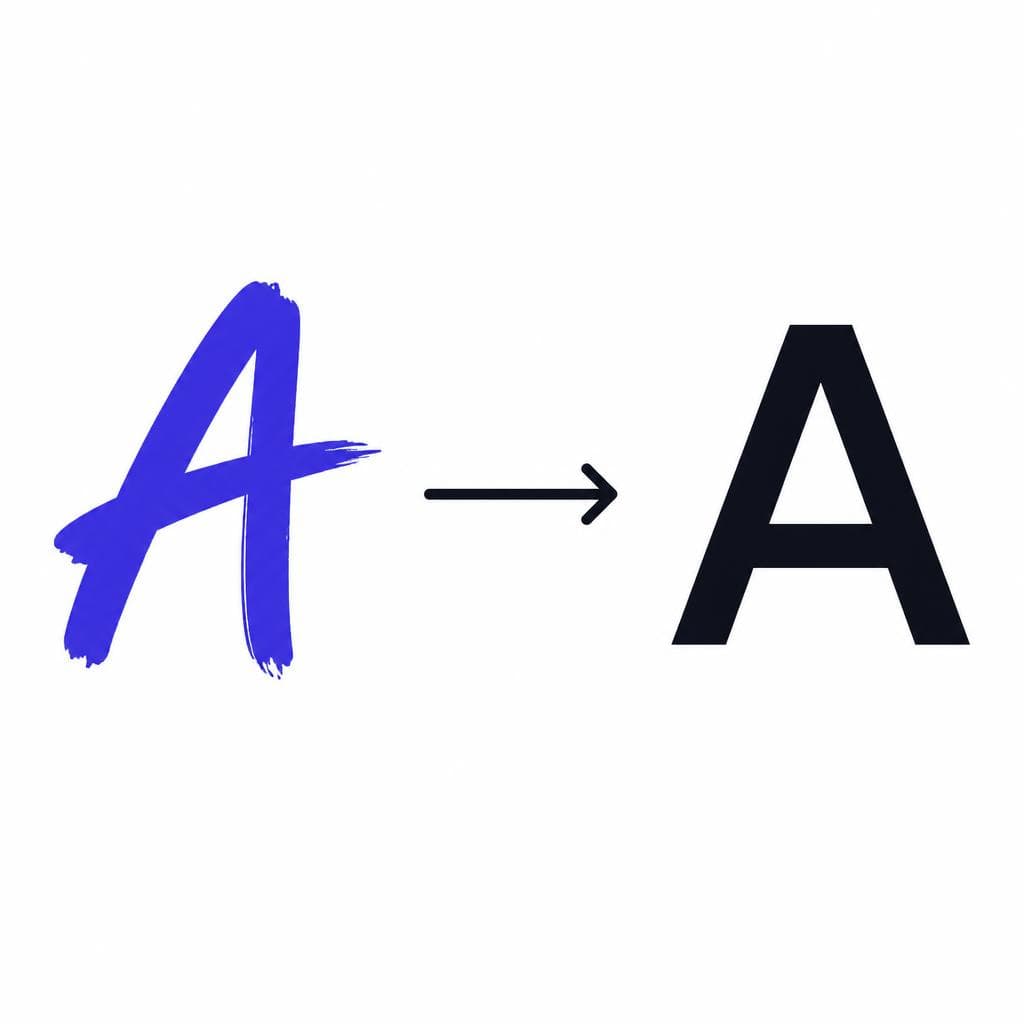
Hand lettering has personality that standard typefaces often cannot replicate: the pressure changes in a brush stroke, a slightly exaggerated terminal, the rhythm of connected script, or the imperfect character of a marker-drawn headline. But artwork on paper, in a sketchbook, or in a Procreate canvas has an important limitation: you have to redraw it every time you want to use it. When you digitize hand lettering into a real font file, those letterforms become a reusable creative asset you can type with in design software, word processors, presentation tools, and more.
The process of turning hand lettering to font is not simply a matter of taking a photo and clicking export. A useful font needs clean source art, consistent character design, legible outlines, sensible spacing, and testing across real words. The good news is that you do not need to become a professional font engineer to get impressive results. With careful preparation and the right workflow, you can convert lettering to font and export a usable .TTF file without losing the human quality that made your original lettering special.
This guide walks through the full process, from deciding which lettering is ready for digitization to scanning, cleaning, mapping characters, testing, and refining the final file. It also explains where handmade quirks add charm and where they create avoidable problems.
Why Digitize Hand Lettering Into a Font?
Turn one-time artwork into a flexible design tool
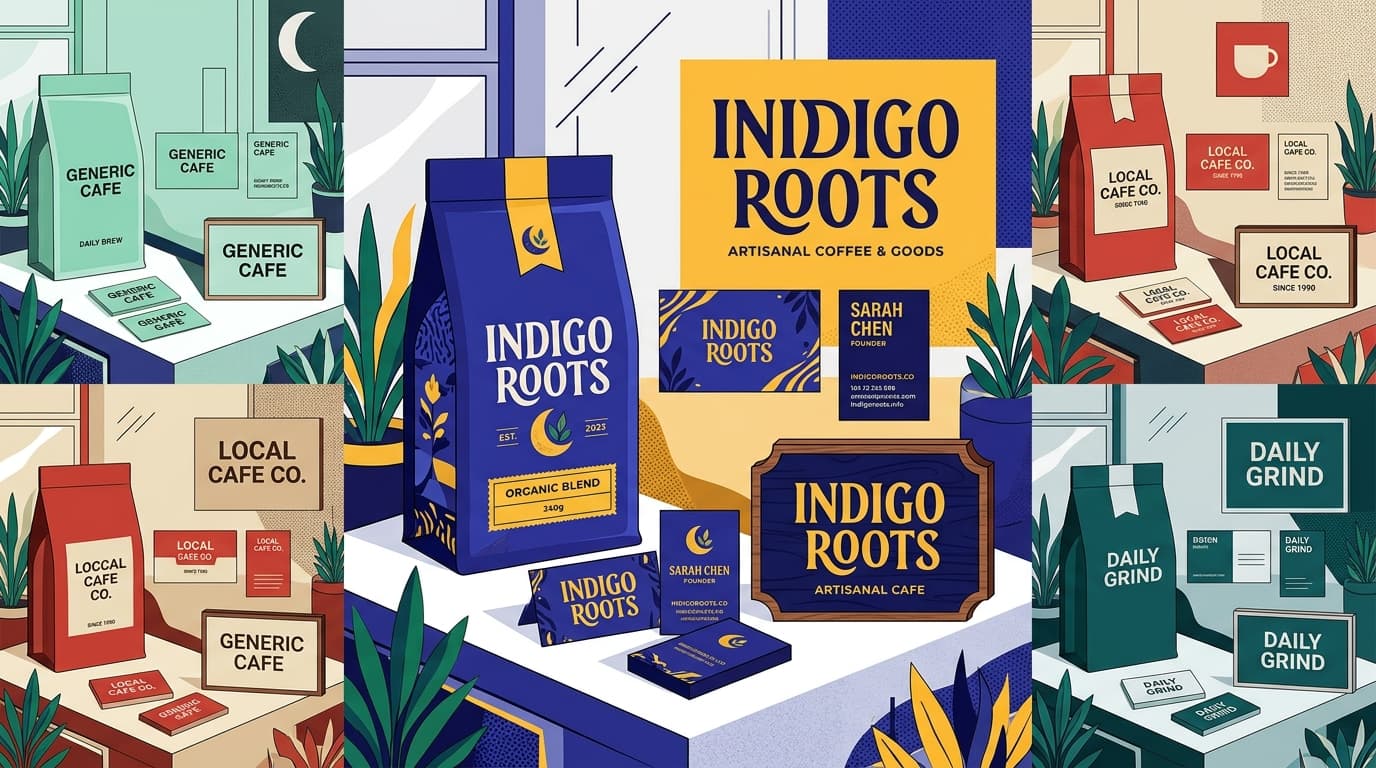
A lettering font file gives your work a longer life. Instead of treating your alphabet as a single illustration, you can use it repeatedly for social graphics, packaging concepts, invitations, posters, classroom materials, brand mockups, stickers, and client presentations. Type a phrase, adjust the size, choose a color, and preserve a visual voice that is recognizably yours.
Digitizing is especially valuable when your lettering has a consistent style. Perhaps you have a chunky all-caps marker alphabet, a casual monoline script, elegant pointed-pen calligraphy, or playful rounded lowercase forms. If the core shapes repeat well across the alphabet, they can become a hand drawn font digital designers can use at any scale. A font also makes collaboration easier: a teammate or client can type approved copy in the style instead of asking you to letter every new phrase from scratch.
There is also a practical reason to convert lettering to font: scalability. A high-quality font is vector-based, so it can be used at small caption sizes and enlarged for a poster without becoming blurry. This is a major improvement over repeatedly placing a raster image of your lettering into layouts. It is worth noting, however, that a font is best for repeatable typography, not necessarily for every expressive piece of lettering. If a word depends on dramatic flourishes, custom ligatures, unusual overlap, or a composition built around one phrase, preserve the original artwork too. Your font can handle everyday text while custom lettering remains the right choice for special display work.
The most successful lettering to digital font projects begin with a realistic goal. A complete, polished type family with multiple weights and advanced OpenType features is a substantial undertaking. For a first project, aim for a single regular style containing uppercase letters, lowercase letters if applicable, numbers, punctuation, and the symbols you use most. That scope is enough to create something genuinely useful.
Prepare Your Artwork Before You Start
Consistency matters more than perfect penmanship
The quality of your source lettering determines how much cleanup you will need later. Before you scan anything, decide what your font should feel like. Write down a few style rules: Is the stroke width uniform or pressure-sensitive? Are round letters wide and friendly or narrow and condensed? Are the baseline and x-height tidy or deliberately bouncy? How sharp should corners be? These choices prevent the alphabet from looking like a collection of unrelated drawings.
Create your letters large enough to capture detail cleanly. For pen, brush, or marker lettering, drawing each character roughly 1 to 3 inches tall is usually comfortable. Use dark ink on bright white, untextured paper whenever possible. Black fineliner, brush pen, or marker makes scanning easier than light graphite, pale colors, or paper with visible fibers. If you prefer pencil, ink the final version before capture. Keep a ruler or guide sheet underneath the page so the baseline, cap height, and x-height remain consistent.
Draw each glyph separately, with generous space around it. A glyph is simply an individual character shape: A, a, 7, ampersand, question mark, and so on. Avoid letting strokes touch neighboring letters. For script and calligraphy to font projects, consider drawing both standalone letters and any common connections that are essential to the style. Basic font workflows can preserve the look of a script, but they may not automatically recreate every contextual connection found in hand-written words. Start with strong individual letters, then add alternates or ligatures later if your font-making tool supports them.
Build a character checklist before drawing. At a minimum, include A-Z, a-z, 0-9, a space, period, comma, apostrophe, quotation marks, hyphen, en dash if relevant, colon, semicolon, exclamation mark, question mark, parentheses, slash, ampersand, and at sign. For a display-only all-caps font, uppercase letters, figures, and core punctuation may be sufficient. Think about the actual phrases you expect to type. A wedding stationer may need accented letters and ampersands; a content creator may need hashtags, currency symbols, and bold punctuation; a teacher may need parentheses, percent signs, and mathematical symbols.
Do not overcorrect the handmade quality out of your alphabet. Small variations can be the point of a hand lettering font. Instead, look for accidental inconsistencies that distract: one lowercase e that is dramatically narrower than the others, a capital H with a crossbar much higher than every other horizontal feature, or a lowercase n whose stroke thickness does not match m and h. Make intentional irregularity repeatable. If your baseline is meant to bounce, give it a recognizable rhythm rather than allowing each letter to drift randomly.
Scan or Photograph Your Lettering Correctly
Capture clean, high-contrast source material
A flatbed scanner is the most reliable way to capture hand lettering. Scan at 300 DPI at minimum; 600 DPI is a better choice for detailed brush strokes, thin calligraphy hairlines, or small characters. Save a lossless format such as PNG or TIFF if available. JPEG can work, but compression may introduce soft edges and artifacts that complicate tracing. Before scanning, wipe dust from the scanner glass and flatten the page so shadows and warped edges do not appear.
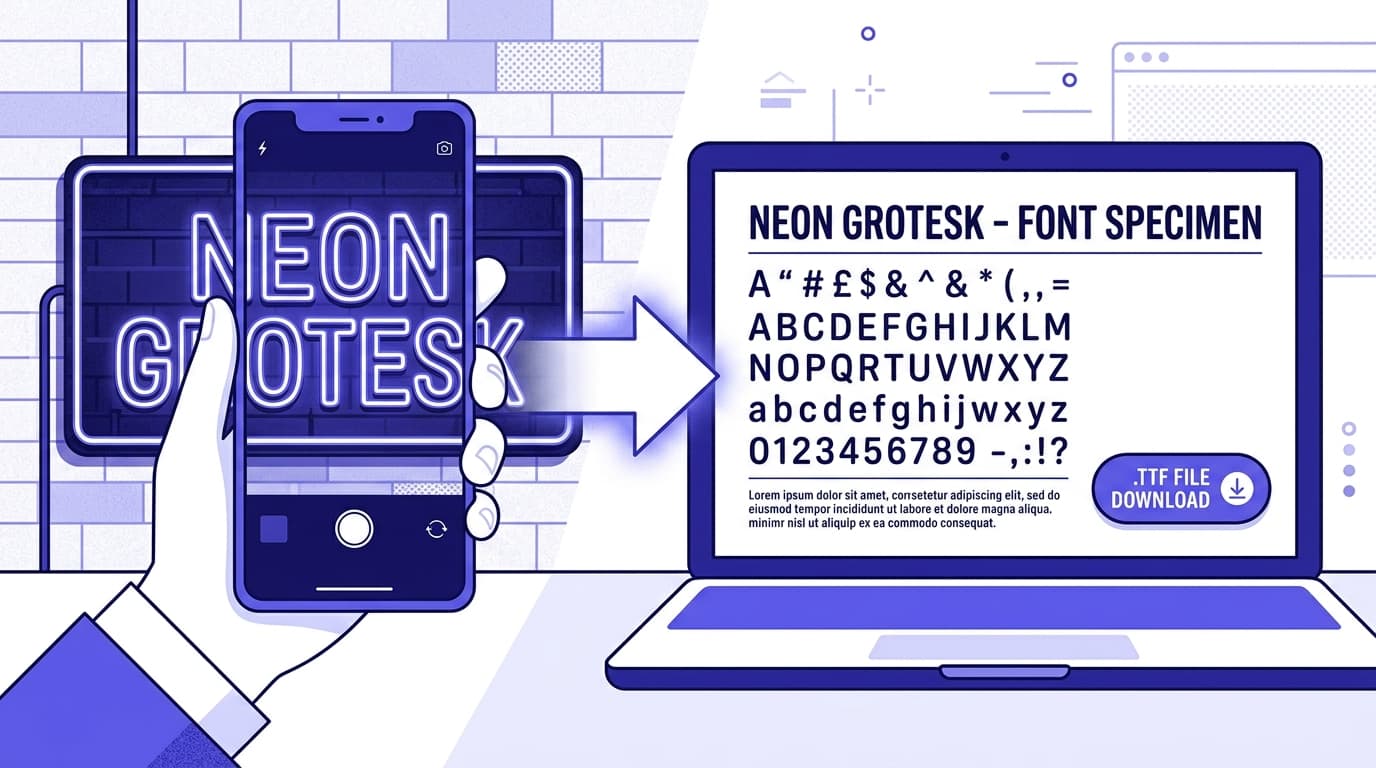
A phone camera can also produce good results when a scanner is unavailable. Place the sheet on a flat, evenly lit surface near a window or under two diffuse lamps. Avoid direct overhead glare, which can make white paper look uneven. Hold the camera parallel to the page rather than shooting at an angle; perspective distortion makes letters taller on one side and can subtly deform circles. Use the highest-resolution rear camera, turn off beauty filters or portrait effects, tap to focus on the lettering, and crop only after confirming the full page is sharp.
Whether you scan or photograph, open the image in an editor and inspect it at high zoom. Increase contrast until the lettering is solid and the paper background is clean white. Correct rotation, remove dust marks, and straighten any perspective introduced by a photograph. Be careful not to erase thin strokes, especially in calligraphy. If the original ink looks gray rather than black, use levels or curves to darken it before vectorization.
For best results, keep the original capture as a backup and make edits on a duplicate. This gives you room to revisit the source if a threshold adjustment removes a delicate swash or closes a small counter. Counters are the enclosed spaces in letters such as o, e, p, b, and a. They are crucial for readability, particularly at small sizes.
The Digitization Process: From Artwork to .TTF
Clean, map, and export your characters
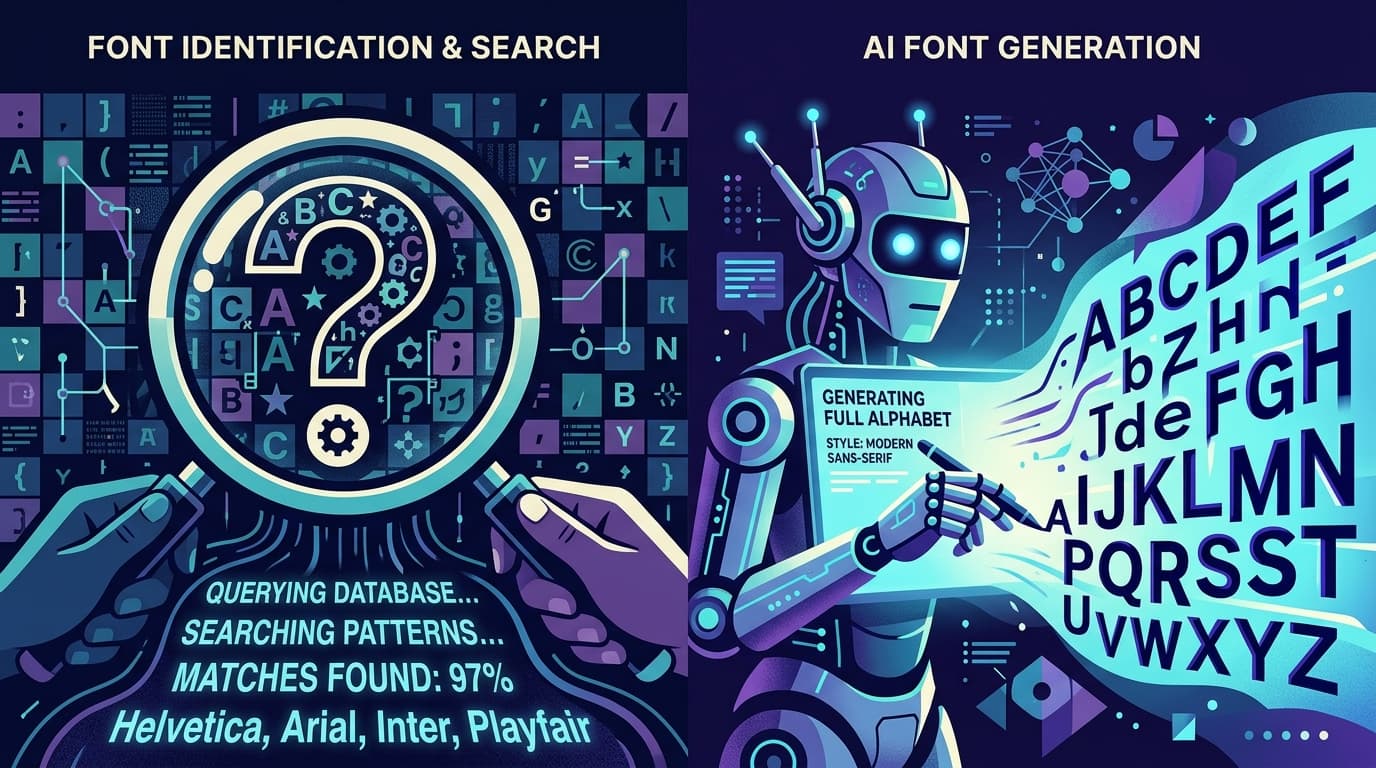
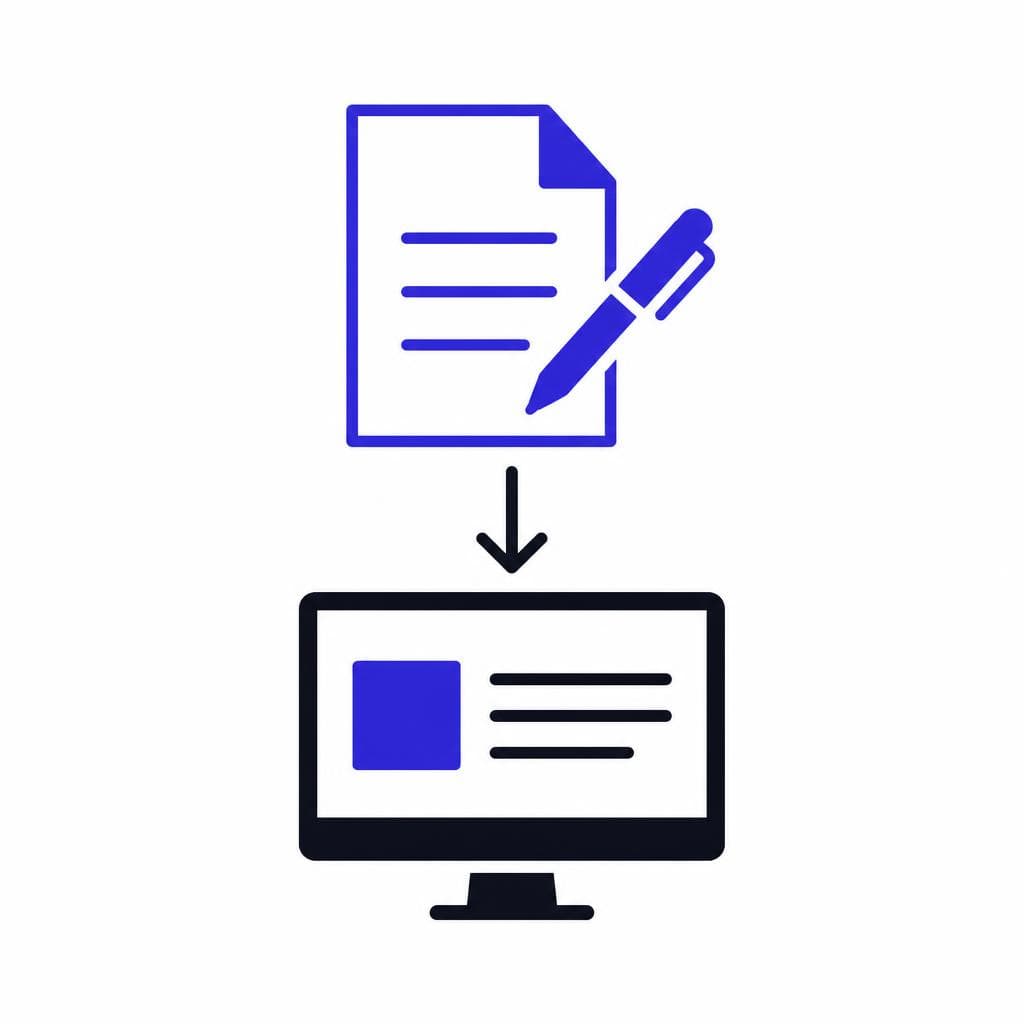
After preparing your image, the main task is converting each character into a usable vector glyph and assigning it to the correct keyboard character. Some designers manually trace artwork in vector software, refining each contour with Bézier points. This provides maximum control but can take a long time. Automated image-to-font tools shorten the process by recognizing individual characters and generating a font from your uploaded lettering. Snapafont is designed for this practical workflow: upload a clear lettering sample, review the results, and download a usable .TTF font file.
Regardless of the tool you choose, start by making sure every letter is correctly identified. The shape that looks like a lowercase l can be confused with an uppercase I, and a handwritten 1 can resemble either. Review character mapping one glyph at a time. A beautifully drawn letter placed in the wrong slot will lead to frustrating typing errors later.
Next, assess the outlines. Raster source art must become vector contours, which are paths used by font software to define the edge of each letter. Automatic tracing is often excellent for bold marker or monoline work, but it can create too many points around rough edges. Excessive points may make curves look lumpy and can produce unnecessarily complex font data. Simplify paths where possible, while retaining the distinctive details of your stroke. Smooth the outside curve of an O, for example, but do not flatten the distinctive teardrop terminal that gives your lettering style its character.
Pay special attention to closed shapes and overlapping strokes. Every counter should remain open, and strokes that are meant to form one solid shape should not leave tiny gaps. At text size, these minor defects can make letters look broken. Conversely, avoid accidentally filling a counter in an e, a, or p when you increase contrast. Zoom in during cleanup, then zoom out frequently; the latter view tells you how the font will actually read.
Spacing is the next essential step. Each glyph needs left and right side bearings, the invisible space on either side of the visible letter. If letters are too close, words appear cramped and strokes may collide. If they are too far apart, the font loses rhythm. Start by comparing common pairs such as nn, oo, hh, and ee, then test difficult pairs including To, Ta, AV, WA, Yo, Ly, and punctuation next to letters. In a casual font, spacing can be slightly uneven, but it should still look deliberate.
Kerning is the fine adjustment applied to specific pairs. You may not need extensive kerning for a first lettering font file, especially if the font is intended for large display text, but a few important pairs make a visible difference. For example, the diagonal right side of A often leaves a large gap before V or W, while a capital T can sit too far from a following lowercase o or a. Correcting these familiar combinations makes words feel more naturally lettered.
Finally, name and export the font. Use a clear family name that distinguishes the file from other fonts on your computer, such as “Maya Marker Regular” rather than “New Font.” Export to TrueType Font (.TTF) for broad compatibility. Install the file, restart any design applications that were open, and confirm the font appears in the font menu. A successful export is not the finish line—it is the beginning of testing.
Test and Refine Your New Font
Use real words, not just the alphabet
Typing A through Z proves that a font loads; it does not prove that it works. Test your new font in the kinds of content you plan to create. Type a headline, a paragraph of short copy, a list of names, dates, prices, social captions, and a pangram such as “Sphinx of black quartz, judge my vow.” Then type combinations that expose repetitive shapes: minimum, noon, balloon, little, willow, and typography. These words reveal uneven spacing, inconsistent joins, and letterforms that become confusing when repeated.
Test at multiple sizes. A bold hand drawn font digital file may look wonderful at 80 points but become muddy at 12 points. Fine calligraphy hairlines may disappear on lower-resolution screens or basic home printers. If your font is intended for headlines, it is perfectly acceptable to describe it as a display font and avoid using it for body copy. The goal is not universal suitability; it is reliable performance within the use case you designed for.
Check the font in more than one program if possible. A font can render slightly differently in a browser, presentation software, a word processor, and professional design apps. Print a sample as well. On paper, you may notice overly thin strokes, tight punctuation, or vertical alignment issues that were less apparent on screen. Ask another person to read a few test phrases. They may spot an ambiguous r, a cramped s, or a numeral 5 that you have become too familiar with to notice.
Refine based on patterns, not isolated perfectionism. If several words look too loose, revisit side bearings across the alphabet. If capital letters feel too heavy beside lowercase letters, reduce their apparent weight or adjust their height. If your calligraphy to font conversion looks disconnected, examine entry and exit strokes and decide whether the font needs alternate characters or simpler forms. Keep versioned exports—such as v1, v2, and v3—so you can compare improvements and recover an earlier choice when necessary.
Before sharing the font, verify that all essential punctuation works and that the spacebar produces an appropriate gap. Include a simple specimen image showing alphabet samples, numbers, punctuation, and a few real phrases. This helps anyone using the font understand its personality and intended applications.
Make Your Lettering Usable Everywhere
Start with the alphabet you already have
Your hand lettering does not have to stay locked inside a sketchbook or a single finished graphic. A clean, consistent alphabet can become a font you use across future projects while still retaining the warmth and individuality of the original marks. Begin with one style, capture it clearly, and focus on the characters you will genuinely use most. You can always expand the character set and add refinements once the first version is working.
If you want a faster path from artwork to a downloadable font, try Snapafont at snapafont.com. It helps turn your lettering into a real .TTF file so you can spend less time on technical setup and more time developing the distinctive letterforms that make your work worth using.
Ready to turn your image into a font?
Upload any image and get a real, downloadable .TTF font file in seconds.
Try Snapafont Free →