Learning how to install a font on Mac is usually a 30-second task: download the file, open it, and click Install. The slightly harder part is making sure the font appears in the apps where you actually need it—whether that is Pages, Microsoft Word, Adobe Photoshop, Canva’s desktop tools, Figma, Keynote, or a code editor.
A successful Mac font installation depends on three things: using a compatible font file, placing it in the right location, and restarting any app that was already open. Most modern fonts arrive as .TTF or .OTF files, both of which macOS supports natively. This guide walks through the two simplest installation methods, explains where fonts live on your Mac, and gives you a practical checklist for the frustrating “font not showing Mac” problem.
One important expectation to set upfront: installing a font makes it available to apps that use macOS’s font system. It does not automatically make that font available on websites, other people’s computers, or cloud-based documents viewed elsewhere. Still, for local design, writing, presentations, and creative work, the right installation process will make your custom typeface reliably accessible across your Mac.
Two Ways to Install a Font on Mac
There are two dependable ways to add font Mac users can choose from: install through Font Book or copy the font file into a Fonts folder manually. For most people, Font Book is the better option because it previews the font, checks for obvious problems, and provides a central place to manage your collection. Manual installation is useful when you are organizing files, setting up a shared computer, or copying a group of fonts at once.
Before starting, locate the downloaded font file. If it came in a .ZIP archive, double-click the archive first to extract it. Look for files ending in .ttf, .otf, or occasionally .ttc. A .TTF file is a TrueType font; an .OTF file is an OpenType font. In day-to-day Mac use, either format is normally fine. If you are searching specifically for how to install TTF Mac files, the steps below are exactly the same as for OTF files.
Avoid installing every file in a download folder blindly. Font packages often include a regular style, bold, italic, bold italic, variable font, specimen PDF, and license document. Install the font files, read the license, and keep the documentation somewhere you can find later. A font being downloadable does not always mean it is licensed for commercial logos, client work, apps, or redistribution.
For a quick one-font job, double-clicking the file is fastest. For a larger collection, Font Book’s Add Fonts command or drag-and-drop workflow is easier. In either case, a font installed for your user account is normally available throughout the apps you use on that Mac.
Install Fonts with Font Book
The easiest method for most Mac users
Font Book is Apple’s built-in font management app. Open it with Spotlight by pressing Command + Space, typing “Font Book,” and pressing Return. You can also find it in the Applications folder. Once Font Book is open, choose File > Add Fonts in the menu bar, select one or more .ttf or .otf files, and click Open.
You can also double-click a downloaded font file directly in Finder. macOS opens a preview window showing the typeface name and a sample alphabet. Click Install Font in the lower-right corner. The font will be added to Font Book, typically under the “My Fonts” section, and macOS will register it for your account.
After installation, click the font in Font Book and review the preview. Expand the family to confirm that its expected styles are present. For example, a family called Northstar may include Regular, Medium, Semibold, Bold, and Italic. In design apps, those styles may appear as separate entries or under one family menu. Installing only Northstar Regular does not create the other weights automatically; each actual font file must be installed.
Font Book also lets you validate a file before relying on it for important work. Select the font, then choose File > Validate Selection. A warning does not always mean the font is unusable, but serious errors, duplicate conflicts, or corrupted tables can explain why a typeface behaves strangely. If an app displays a font with missing characters or refuses to load it, validation is a sensible first diagnostic step.
If you are installing fonts for a project, create a collection in Font Book with File > New Collection. For example, you could make collections for “Brand Client A,” “Wedding Invites,” or “Editorial 2026.” Collections do not move the font files or change what applications can access; they simply make a growing library easier to browse.
Manual Mac Font Installation
Copy font files into the correct Fonts folder
Manual Mac font installation means placing the font file in a Fonts directory yourself. This method is helpful if you have several fonts to copy, if double-click installation is not working, or if you want to understand exactly where your files are stored.
For fonts available only to your user account, use this folder: ~/Library/Fonts. The tilde (~) means your home folder. In Finder, choose Go > Go to Folder, paste ~/Library/Fonts, and press Return. Then drag your .ttf or .otf files into that folder. You may be asked for permission depending on your setup, but usually no administrator password is required for this user-level location.
For fonts intended for every user account on the Mac, use /Library/Fonts. In Finder, choose Go > Go to Folder and enter /Library/Fonts. Copying files there may require an administrator password. This option can make sense for a family computer or a managed shared workstation, but it is generally better to install personal fonts in ~/Library/Fonts. Keeping optional fonts at the user level reduces clutter and avoids affecting other people’s accounts.
Do not place downloaded fonts in /System/Library/Fonts. That directory contains macOS system fonts and is protected for good reason. Modifying or deleting files there can cause interface problems, and current versions of macOS limit access anyway.
After manually copying a file, open Font Book to see whether it appears. If it does, the installation likely succeeded. You can then test it in a simple app such as TextEdit or Pages. Manual copying and Font Book installation achieve the same practical result, so use whichever workflow is more comfortable. There is no need to install the same font through both methods.

How to Make a Downloaded Font Work in Every App
The most common reason a newly installed font seems unavailable is that the target application was open during installation. Quit the app completely and reopen it. On a Mac, clicking the red window button does not always quit an app; use Command + Q or select the application name in the menu bar and choose Quit. Then open it again and check the font menu.
If you are wondering how to use downloaded font Mac-wide, start by testing it in TextEdit. Create a new rich-text document, open the font dropdown, and search for the family name. If it appears there, macOS has recognized the font correctly. Next, test the specific app you care about. In Word, Pages, Keynote, Adobe apps, and most native creative software, the font should appear after a restart.
Search by the font’s actual family name rather than the downloaded file name. A file named “sunrise_display_v2.ttf” might install under the family name “Sunrise Display.” Also try searching just the first word. Some apps list typefaces by family and place style choices—such as Light, Regular, or Bold—in a separate control.
Variable fonts deserve a special note. A variable font can include many weights and widths in one file, rather than a separate file for each style. Modern Mac apps usually support them well, but older software may show only one default style or may not expose all axes. If a client or production workflow depends on a specific weight, test the font in the final app before committing to a layout.
Not every app uses local macOS fonts in the same way. Browser-based editors and online design platforms may have their own font libraries and may not allow local fonts at all. Similarly, an iPhone, iPad, Windows PC, or collaborator’s Mac will not receive your installed font just because it appears in your document. For editable documents, provide the licensed font files when permitted or choose an approved shared alternative. For a final design, exporting a PDF often preserves the intended appearance, though the exact result depends on the application’s embedding settings and the font license.
Troubleshooting: Font Not Showing on Mac
A practical checklist when installation does not stick
When you encounter a font not showing Mac issue, work through the following checks in order. Most cases are resolved in a few minutes.
First, make sure you downloaded an actual font file. A ZIP archive, PDF specimen, image of lettering, or webfont-only format such as .woff or .woff2 is not the same as an installable desktop font. Extract ZIP files and look for .ttf or .otf files. If a website supplied only WOFF files, ask the font provider for a desktop license or TTF/OTF download rather than trying to rename the extension.
Second, reopen the target app. Quit it with Command + Q, not just by closing the document window. This is especially important for Adobe Creative Cloud apps, Microsoft Office, and development tools, which may load available fonts only at launch. If the font still does not appear in any app, log out of your macOS account and log back in; restarting the Mac is a reasonable next step when the system font cache appears stale.
Third, check Font Book for duplicates or disabled fonts. Search for the family name. If it is grayed out or marked disabled, select it and choose Edit > Enable. If multiple versions of the same family are installed, macOS or an app may select an unexpected version. In Font Book, review duplicate warnings carefully and keep the version you actually intend to use. Do not remove a font just because it has a similar name; verify the foundry, style, and version first.
Fourth, validate the font. Select it in Font Book and use File > Validate Selection. Corrupt downloads can install incompletely, and old or poorly produced fonts may trigger errors. Download a fresh copy from the original source if validation reports serious issues. This is safer than hunting for an unofficial replacement online.
Finally, check whether the issue is really a character-support problem. A display font may install correctly but contain only uppercase Latin letters, numbers, and punctuation. If you type accented characters, Cyrillic, Arabic, emoji, or a different script, the app may fall back to another font. Test with the sample characters shown in Font Book and use a typeface with the required language coverage for multilingual work.
Turn Your Own Lettering into an Installable Mac Font
Sometimes the font you need is not in a marketplace at all. It may be handwritten lettering from a sketchbook, a favorite sign, an old invitation, or a brand’s custom letterforms. In that situation, the useful goal is to create a clean, usable font file that follows the same installation steps described above.
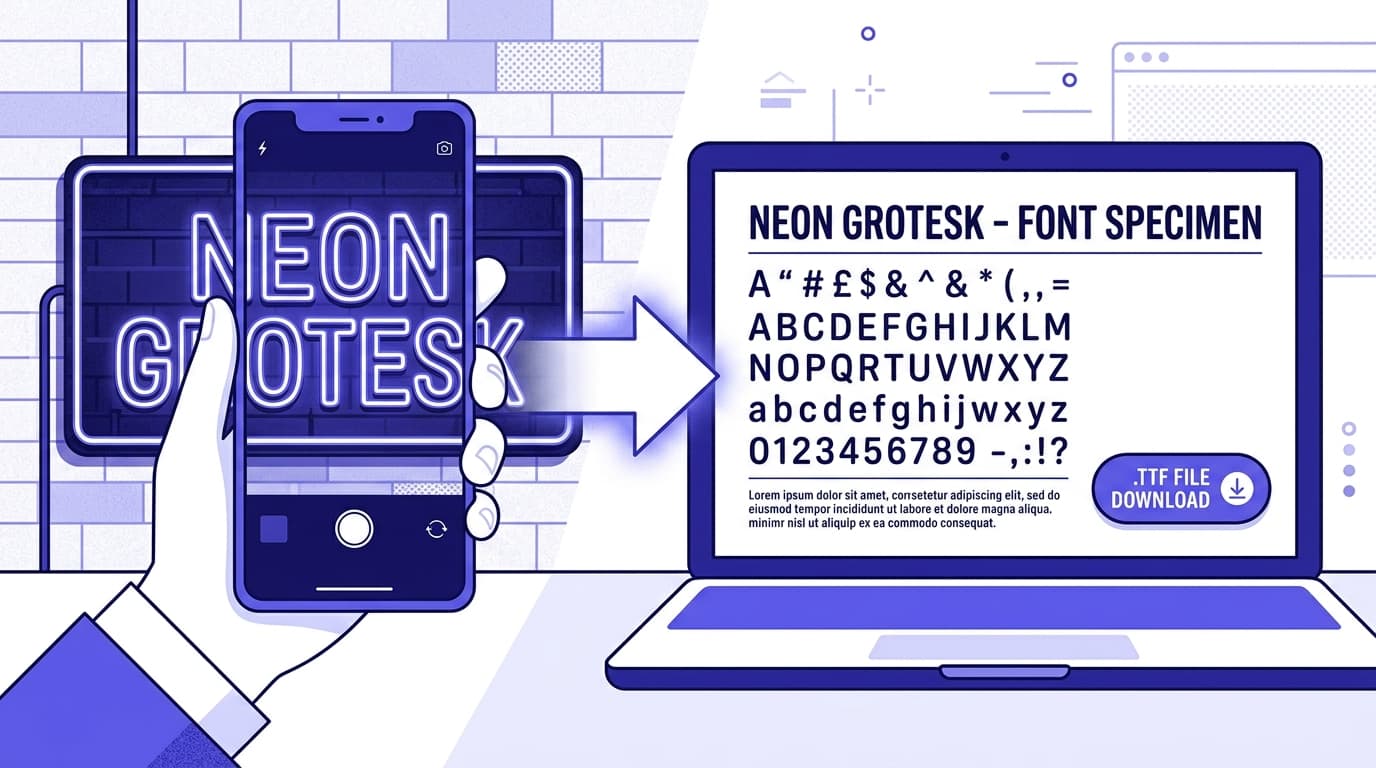
Snapafont helps turn an image of lettering into a downloadable .TTF font file, so you can install a custom font on Mac through Font Book and begin using it in compatible local apps. For best results, start with a high-contrast image, keep letters separate and readable, include as much of the alphabet as possible, and photograph or scan the source straight-on. Review the resulting characters before using the font in client-facing work, especially punctuation, numbers, and frequently used letter pairs.
If you want to transform a personal handwriting sample or visual lettering reference into a font you can install and test on your Mac, try Snapafont at snapafont.com. You will end up with a standard TTF file and a straightforward workflow: download it, install it with Font Book, restart your app, and start creating.
Ready to turn your image into a font?
Upload any image and get a real, downloadable .TTF font file in seconds.
Try Snapafont Free →