Whether you downloaded a typeface for a presentation, received a branded font from a client, or created your own lettering, learning how to install a font on Windows is a quick skill worth having. In most cases, Windows font installation takes less than a minute: download the font file, open it, select Install, and restart the app where you want to use it.
The process is nearly identical across current Windows releases, but there are a few important differences between adding a font for only your account and making it available to everyone who uses the computer. This guide covers how to install TTF Windows files, add font Windows 10 systems, install font Windows 11 systems, manage a custom font Windows setup, and solve the common problem of a font not showing Windows applications.
Before starting, make sure the font is from a trusted source and is licensed for your intended use. A font that is free for personal use may not be allowed in commercial work, client projects, websites, or product packaging. Also check the file format. Windows commonly supports TrueType fonts (.ttf), OpenType fonts (.otf), and font collections (.ttc). For most users, a .ttf or .otf file is the simplest option.
Installing a Font in Windows 10
There are two easy ways to add font Windows 10 computers: install it directly from File Explorer or drag it into the Fonts page in Settings. The File Explorer method is usually fastest when you only need to install one or two files.
First, download the font and locate it in your Downloads folder. Fonts often arrive inside a ZIP folder, especially when they include multiple weights such as Regular, Bold, Italic, and Bold Italic. Right-click the ZIP file and choose Extract All before attempting to install anything. Windows cannot reliably use a font while it remains compressed.
Next, double-click the .ttf or .otf file. A preview window opens, showing sample text and the font’s name. Click the Install button in the upper-left area of that window. Windows installs the file for the current user by default, so administrator access is not normally required. Once the button changes or becomes unavailable, the font has been installed.
To confirm that it worked, open the program where you plan to use the typeface, such as Microsoft Word, PowerPoint, Adobe Photoshop, Canva’s desktop tools, or another design application. Open the font menu and search for the font by its family name, not necessarily the filename. For example, a file named “Northstar-Regular.ttf” may appear in menus simply as “Northstar.” If the application was already open during installation, close it completely and reopen it.
Windows 10 also offers a Settings-based method. Go to Start > Settings > Personalization > Fonts. You can drag a font file from File Explorer into the “Drag and drop to install” area. This is useful when installing several files at once. For a complete family, drag in every required weight and style so you can select Regular, Bold, Italic, and other variants correctly in your software.
If you are installing a custom font Windows users will need for a document or brand kit, test it immediately. Type a sentence containing uppercase letters, lowercase letters, numbers, punctuation, currency symbols, and any accented characters you use. A font may install successfully while still lacking specific glyphs, such as em dashes, smart quotes, or non-English characters.

Installing a Font in Windows 11
To install font Windows 11 systems, begin exactly as you would on Windows 10: download the file, extract it if it is in a ZIP archive, and identify the .ttf or .otf font file. Double-clicking the file opens the Windows Font Viewer. Select Install to add it for your account.
For a more visual management option, open Start > Settings > Personalization > Fonts. You will see a drag-and-drop box near the top of the page. Drag one or more compatible font files into that box, then wait for Windows to complete the installation. This route is convenient when you are adding a full type family or organizing several font files from a client package.
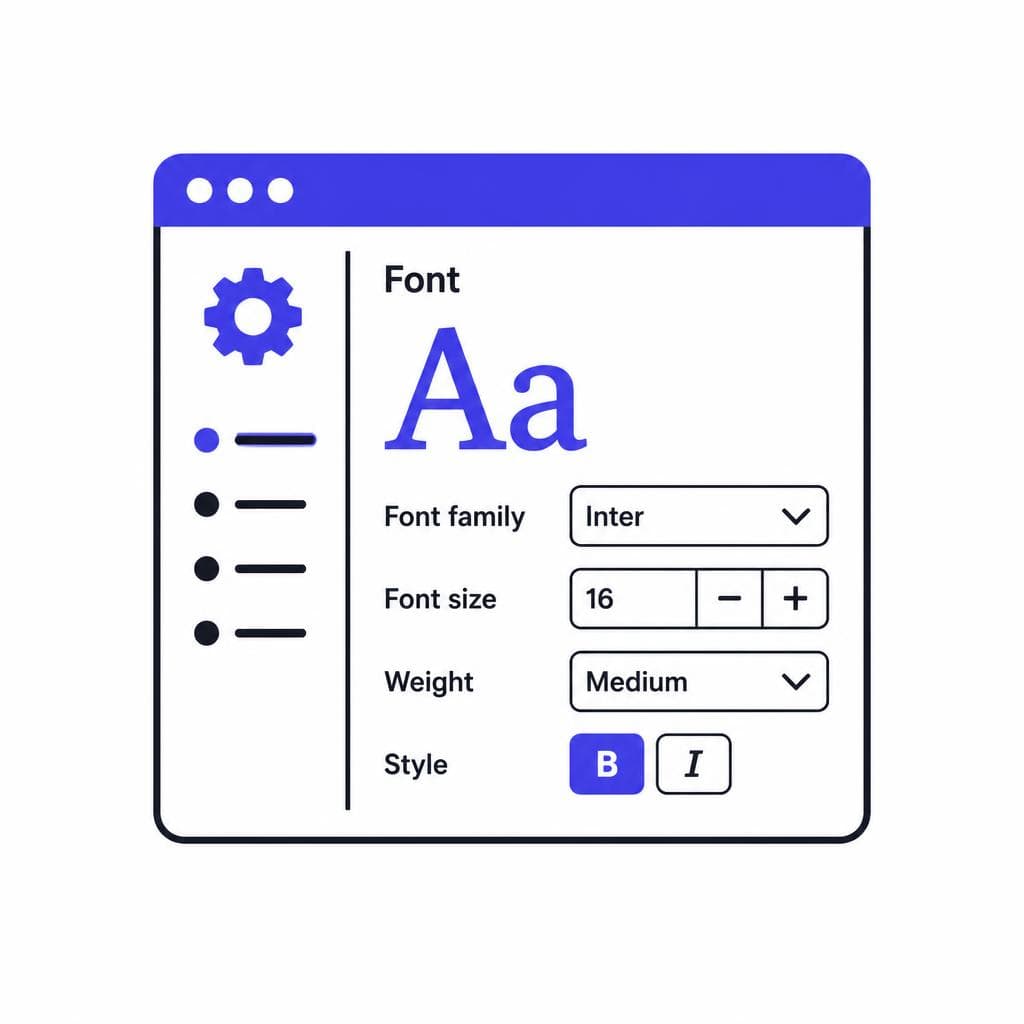
After installation, the font appears in the list on the Fonts settings page. Select it to view its available faces, metadata, and supported styles. This is also where you can remove a font later if it was installed by mistake. Be careful when uninstalling: removing a font can affect existing documents and presentations, causing Windows or the relevant application to substitute a different typeface.
Windows 11 generally makes font management straightforward, but the font will not appear in every program automatically. Modern apps that use Windows’ installed-font library should recognize it. Some older, portable, or specialized programs use their own font folder instead. In that case, look in the program’s Preferences, Settings, or documentation for an option such as “Add Fonts,” “Font Directory,” or “Use System Fonts.”
A practical example: if you install a display font for a PowerPoint title slide, restart PowerPoint and search the font dropdown by the family name. If you are working in Adobe Creative Cloud software, restart the individual Adobe app. If you are editing in a browser-based platform, remember that browser tools may not have access to every font installed locally; they may require an upload or a separate font-selection workflow.
Installing Fonts for the Current User vs. All Users
When you click Install from the font preview window, Windows typically adds the font only to your current user account. This is the best choice for most personal computers because it does not require administrator permission and avoids changing the setup for other people who share the device.
To install a font for every user on the PC, right-click the .ttf or .otf file and choose Install for all users. You may be asked for an administrator password or approval. This option is useful on a family desktop, a shared studio workstation, or an office computer where multiple approved accounts need access to the same brand typefaces.
The distinction matters when troubleshooting. Suppose an administrator installs a font only under their own profile, then another employee signs in and cannot find it in Word. The font is not necessarily broken; it may simply be installed for the wrong user. Reinstalling it with Install for all users usually resolves that situation.
On older versions of Windows, including Windows 7 and Windows 8.1, the workflow is similar. Open Control Panel, select Appearance and Personalization, then Fonts. You can drag extracted .ttf or .otf files into the Fonts folder, or use the right-click installation options. These legacy releases may not have the same Settings interface as Windows 10 and 11, but they still support standard TrueType and OpenType font installation.
For managed work computers, follow your organization’s IT rules before adding fonts. Some businesses restrict software and font changes for security, licensing, or consistency reasons. If a company template relies on a particular font, ask whether there is an approved version and whether it should be installed for all users.
What to Do When a Font Is Not Showing Up in Windows
The most frequent complaint after Windows font installation is simple: the font appears to install, but it does not show in Word, Photoshop, PowerPoint, or another application. Start by fully closing and reopening the program. Do not just close the document; exit the app and launch it again. Most software reads the available-font list at startup, so it cannot see fonts added while it was already running.
Next, confirm that the font is actually installed. In Windows 10 or 11, go to Settings > Personalization > Fonts and search for the family name. If it is present there, Windows recognizes the font. If it is absent, return to the downloaded file, make sure you extracted any ZIP archive, and install the actual .ttf or .otf file again.
Search using the font’s internal family name rather than the name of the file. Font filenames can be abbreviated, versioned, or descriptive. For instance, “AcmeBrand_v2_Final.otf” could appear in an app’s dropdown as “Acme Brand.” The preview screen and the Fonts settings page usually reveal the name Windows uses.
Also check whether you installed only one style from a larger family. If you install “Example Sans Bold” but search for “Example Sans Regular,” the expected style will not be available. Install all the supplied faces if you need a complete family. This is especially important for documents that use real bold and italic variants instead of software-generated faux bold or faux italic styling.
Finally, verify that your app supports the font format. Standard .ttf and .otf files work in most Windows applications. Webfont files such as .woff and .woff2 are designed primarily for websites and usually cannot be installed as desktop fonts. If a download contains only webfont formats, obtain a desktop-licensed TTF or OTF version from the source.
Windows Font Troubleshooting Checklist
If the font not showing Windows issue continues after restarting your software, work through this checklist in order. Each step rules out a common cause without requiring advanced technical knowledge.
First, redownload the file from the original source. Incomplete downloads and damaged archives can lead to installation failures or fonts that behave unpredictably. Extract the archive again and try installing the font from the newly extracted folder. Avoid installing directly from cloud-sync previews, email attachments, or inside a ZIP file.
Second, check that the font is not duplicated or conflicting with an older version. In Settings > Personalization > Fonts, search the family name and inspect the available faces. If you have multiple versions of the same typeface, remove the outdated one, restart Windows, and install the version you intend to use. Duplicate font names can make an application display the wrong file even though the menu looks correct.
Third, restart the computer. It sounds basic, but a reboot can refresh the Windows font cache and clear a process that is holding an older font list in memory. This is particularly helpful after installing a large collection of fonts or changing multiple weights within one family.
Fourth, consider the application itself. Microsoft Office and most desktop design tools use installed system fonts, but some apps maintain a separate cache. Adobe applications, for example, may need a full app restart. Browser-based editors may require you to upload the font under the service’s own branding or document settings. If one program cannot see the font while others can, the issue is likely specific to that program rather than Windows.
Fifth, test the font in a basic application such as WordPad, Notepad with a rich-text option, Microsoft Word, or Paint. If it works there but not in your preferred software, you have confirmed that the font file and Windows installation are fine. Search that software’s help center for its font support rules, cache-reset instructions, and minimum supported formats.
If Windows reports that a font is invalid, the file may be corrupt, incorrectly packaged, or not a true desktop font. Do not try to rename a .woff file to .ttf; changing the extension does not convert the font. Use a legitimate conversion or, better, download the appropriate licensed desktop file. When sharing documents, remember that recipients need the same font installed unless the document format embeds it or you export it as a PDF.
Create and Install Your Own Custom Font
Installing an existing typeface is easy, but sometimes the font you need does not exist as a downloadable file yet. You may have handwritten notes, a scanned alphabet, vintage lettering, a logo sketch, or a client’s distinctive penmanship that would be more useful as a real, selectable font.
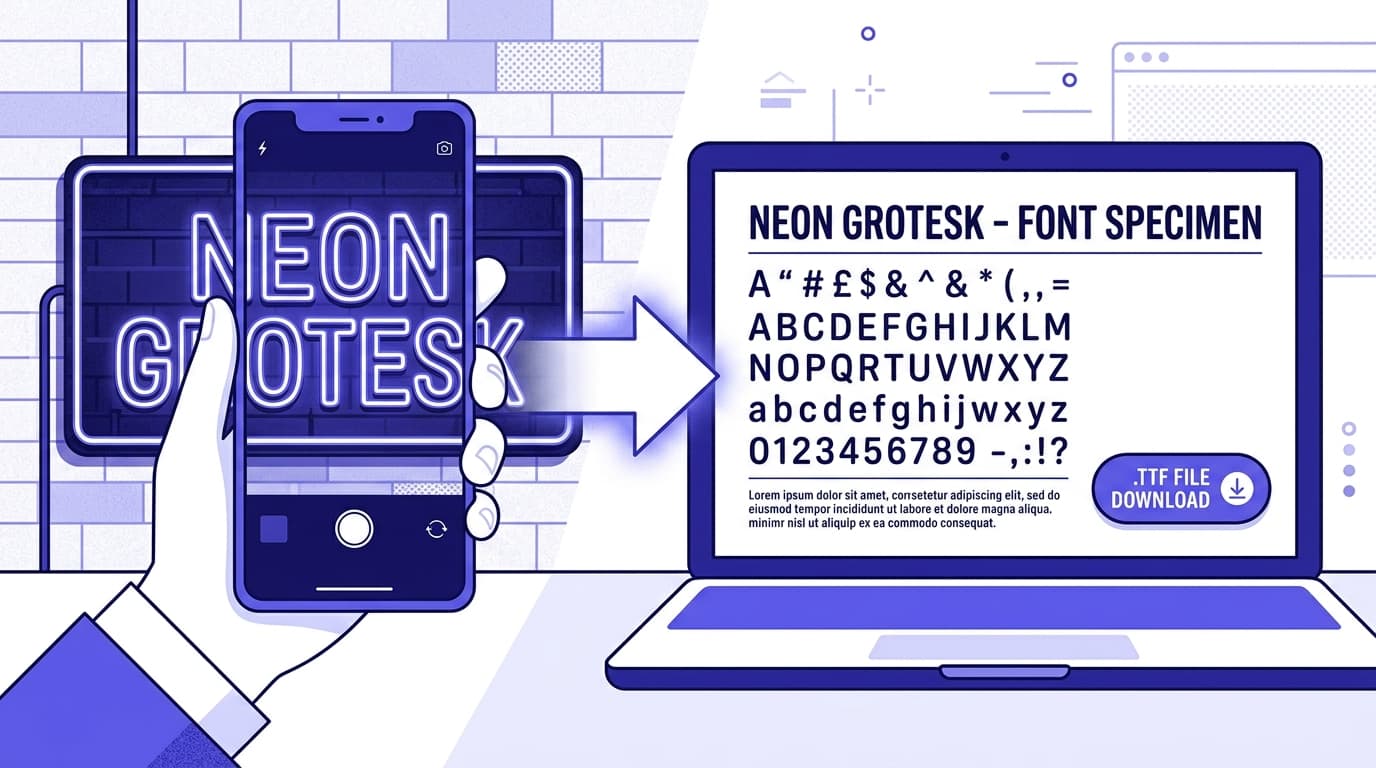
Snapafont helps turn an image of lettering into a downloadable .TTF font file, so you can create a usable custom font Windows recognizes through the same installation steps in this guide. Start with a clear image, high contrast between letters and the background, and a complete set of characters when possible. Once you have the generated TTF, install it in Windows, test it in your preferred applications, and use it in documents, presentations, and design projects like any other typeface.
If you are ready to turn handwriting or visual lettering into an installable font rather than manually recreating every character, try Snapafont at snapafont.com.
Ready to turn your image into a font?
Upload any image and get a real, downloadable .TTF font file in seconds.
Try Snapafont Free →