Using your own typeface is one of the fastest ways to make Canva designs feel recognizably yours. A distinctive handwritten heading, a font based on a logo, or a carefully chosen brand serif can turn a generic social post, presentation, worksheet, or flyer into something that feels consistent with the rest of your business.
The good news is that adding a custom font in Canva is usually a short process. Once the font file is ready and you have access to Canva’s brand-font features, you can upload font to Canva, then select it from the same font menu you already use in the editor. This guide explains the requirements, the exact upload workflow, how to use TTF in Canva, and what to do if a font does not appear or does not look right.
One important distinction: downloading a font from the internet and having permission to use it are not the same thing. Before you start, make sure the font license covers your intended commercial or client work. That small check prevents avoidable problems later, especially when your Canva designs are used in ads, products, or public-facing brand materials.
What You Need Before You Upload a Font to Canva
First, confirm that your Canva plan and team permissions include custom font uploads. Canva commonly places this feature in its Brand Kit or Brand area, and access can vary by plan, workspace type, and role. In a shared team, a team owner or brand administrator may need to upload the font or grant you permission. If you cannot find the upload option, check your plan, switch to the correct team workspace, or ask the account owner.
Next, prepare a supported font file. A .TTF file is a reliable choice, so if you are wondering whether you can use TTF in Canva, the answer is generally yes. Canva also commonly accepts OpenType (.OTF) and web-font formats such as .WOFF, though TTF and OTF are usually the simplest formats for design workflows. Upload the actual font file, not a ZIP archive. If your download arrived as a ZIP folder, extract it first and locate the .ttf or .otf file inside.
It also helps to organize the full font family before uploading. For example, if your brand uses Acme Sans Regular, Acme Sans Italic, Acme Sans Bold, and Acme Sans Bold Italic, upload each separate style. Canva treats these as individual font files. Uploading only the Regular file means the editor may create a synthetic bold or italic effect when you format text, which can look less polished than the real designed font weight.
Finally, verify licensing. Use a font only when you own it, created it, received it from a client with appropriate rights, or have a license that permits the intended use. This matters even if Canva successfully accepts the file. A font’s technical compatibility does not grant legal permission to use it in logos, templates, marketing, or products for sale.
Step-by-Step: How to Add a Font in Canva
Upload your file through your brand settings
The labels in Canva can change slightly as the interface evolves, but the workflow is consistent. Start from the Canva home page and select the correct workspace or team from the account switcher if you belong to more than one. Then open Brand, Brand Kit, or the brand-management area from the left-side navigation. Look for a section called Brand fonts, Fonts, or Brand fonts and styles.
Choose Upload a font. Browse your computer, select the .TTF, .OTF, or other supported font file, and confirm the upload. Canva may show a licensing confirmation asking you to verify that you have the right to use the font. Read it and proceed only when that is true. After processing, the font should appear in your brand-font list. Repeat this process for every weight and style you want available.
For a tidy Canva custom font setup, assign uploaded files to brand text styles when that option is available. For instance, set your display font as Heading, your readable sans-serif as Subheading, and a body-friendly typeface as Body. That lets collaborators apply consistent typography with a click instead of hunting through a long menu. It is especially useful for a marketing team creating recurring Instagram graphics, sales decks, and PDFs.
Before closing the settings, inspect the names Canva displays. A font may show its internal family name rather than the downloaded filename. If you uploaded “Northstar-Display-Bold.ttf,” for example, it may appear simply as “Northstar Display.” Knowing this makes it much faster to find when you begin designing.
How to Use Your Own Font in Canva Designs
Find and apply the uploaded typeface in the editor
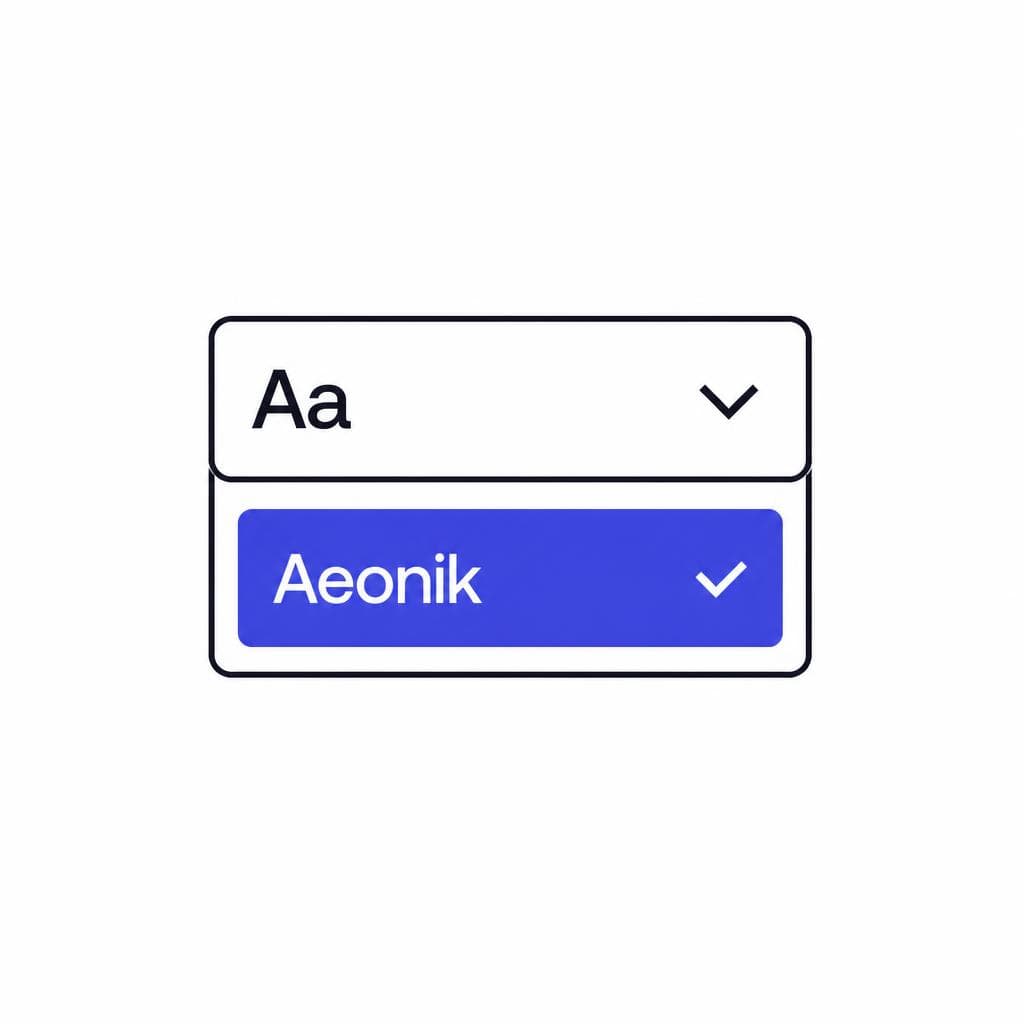
Open an existing design or create a new one. Add a text box, or click text that is already on the canvas. In the top editing toolbar, select the current font name to open the font picker. Search for the name of your uploaded font, or browse the Brand fonts area of the picker. Click the font to apply it to the selected text.
This is the practical answer to “how to use my own font in Canva”: upload it once through your brand settings, then apply it like any other font from the editor’s font menu. You do not need to re-upload it for every new project in the same workspace. Your team members may also be able to use it, depending on their access and your organization’s brand setup.
Use the font intentionally rather than applying it everywhere. A decorative script that works beautifully for a café’s logo may be hard to read in a 10-slide presentation. A useful starting system is to reserve a personality-driven custom font for headlines or short calls to action, then pair it with a highly legible body font for longer copy. For example, use a hand-drawn font for “Summer Market” on a poster, but set the date, address, and vendor details in a clear sans-serif.
Check your design at its final size. A font can look excellent on a desktop canvas but become cramped in a mobile Story or unreadable on a small printed label. Review line spacing, letter spacing, contrast, and alignment. Avoid stretching text boxes so tightly that ascenders, descenders, or accent marks get clipped. If your design will be printed, download a proof first and inspect it at actual size before ordering a large run.
For consistency, build a few reusable templates after your Canva font upload. Create one social post, one presentation cover, one proposal page, and one simple quote graphic with the correct font styles already in place. These templates reduce formatting mistakes and make it easier for anyone on your team to stay on-brand.

Canva Font Upload Tips and Troubleshooting
If the upload fails, begin with the simplest checks. Make sure the file is extracted from any ZIP folder, has a supported extension, and is not damaged. Try uploading the original file again rather than a file renamed manually. If it still does not work, test another known-good TTF or OTF file. That helps identify whether the issue is the particular font file or the Canva account and browser.
If the font uploads but does not appear in the editor, refresh the page, reopen the design, and confirm that you are in the same workspace where you completed the upload. This is a frequent issue for people who move between a personal account and a client or company team. Search both the font family’s displayed name and the font’s style name. Also make sure you have selected a text element; the font control will not be useful when an image or shape is selected.
When a custom font in Canva looks different than expected, check whether you uploaded the correct weight. “Regular,” “Book,” “Text,” “Medium,” and “Display” can be separate files with noticeably different proportions. Uploading the full family avoids accidental substitutions. Do not assume Canva’s bold button is equivalent to a genuine Bold font file. The purpose-built bold cut will usually have better spacing and stroke balance.
Some specialized fonts contain features that may not behave identically in every design tool. Ligatures, alternate characters, variable-font axes, color glyphs, and advanced OpenType features can have limited support or may need a specific font version. If a script font’s decorative alternates do not show, check the font maker’s documentation and try the standard TTF or OTF release instead of a variable version. For critical logo artwork, test the exact words you need before committing to a campaign.
Keep a local backup of every font file and its license documentation. Canva is ideal for using fonts in designs, but your original files, purchase receipts, and license terms should live in a clearly labeled folder outside the platform. A simple folder structure such as “Brand Assets > Fonts > Family Name > License” makes future updates and client handoffs much easier.
Where to Get a Font Before Adding It to Canva
There are several sensible sources for a font, depending on what you need. Font foundries and marketplaces are good choices when you want a professionally designed family with multiple weights, language coverage, and clear licensing. Google Fonts is useful for many open-source projects, although you should still review the license and test the font for your use case. Independent designers may also sell fonts directly from their websites.
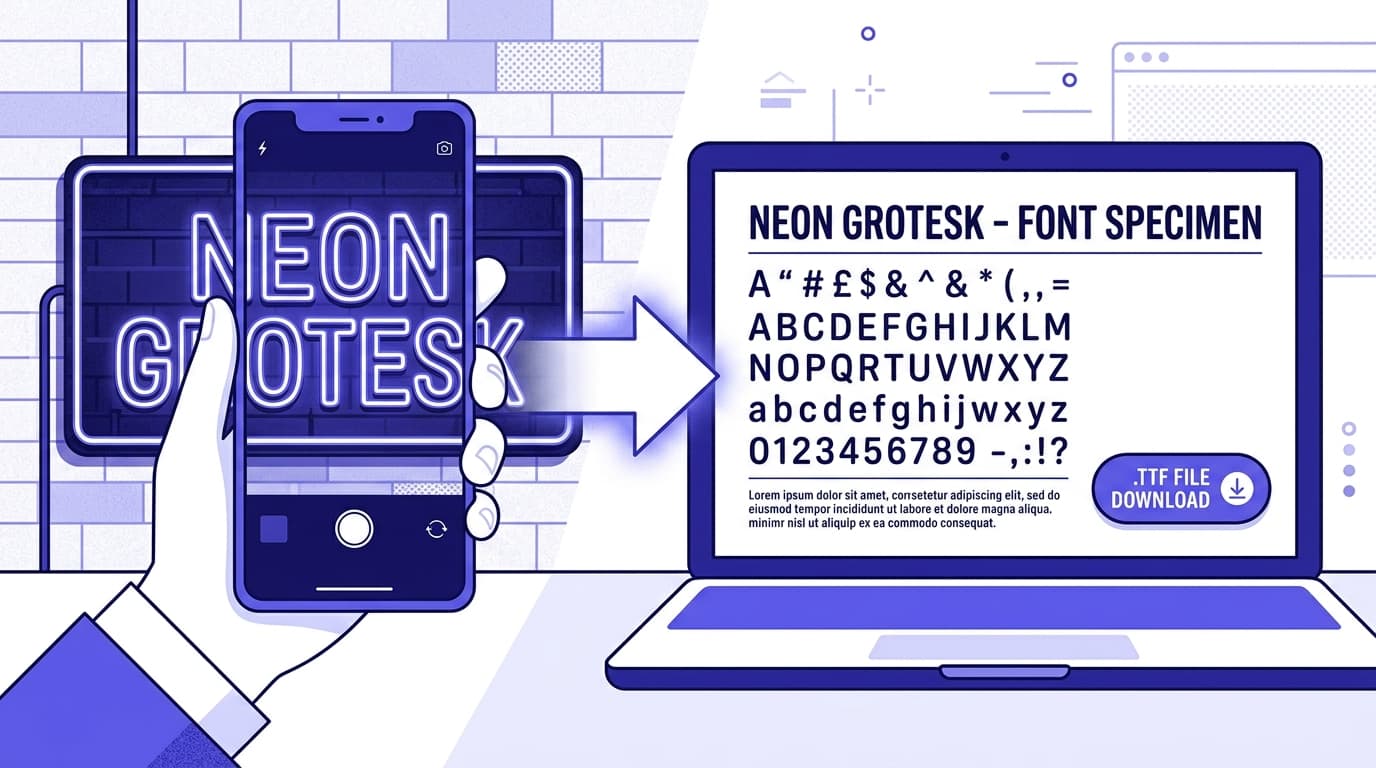
If you have a unique handwritten note, a scanned alphabet, vintage lettering, or a recognizable signature style, you may want to turn that source material into a usable typeface. Start with a clean, high-resolution image. Aim for dark characters on a plain light background, keep letters separate, and include a representative set of uppercase letters, lowercase letters, numbers, and punctuation where possible. The cleaner the source image, the less cleanup is usually required.
Snapafont can turn an image of lettering into a downloadable .TTF font file, making it practical to preserve a distinctive handwritten or custom visual style for digital use. After reviewing the resulting file and confirming that you have rights to the original lettering, you can follow the Canva font upload steps above. This approach is particularly useful for a founder’s handwriting, a personal stationery style, or a custom lettering project that needs to appear consistently across Canva templates.
Before relying on any newly acquired font, test a realistic sample: a headline, a paragraph, numbers, a web address, and the punctuation you use most. A font may look compelling in an alphabet preview but have confusing numerals or poor readability in an event date. Testing first helps you choose a font that is both distinctive and functional.
Make Your Lettering a Canva-Ready Font
A custom typeface does not have to begin with a large design agency or a complicated desktop font workflow. If you have original handwriting, lettering, or an alphabet image that represents your brand, converting it into a usable TTF file can give your Canva work a more personal and consistent look.
Try Snapafont at snapafont.com to transform your image into a downloadable font, then upload that file to your Canva brand fonts and use it across presentations, social graphics, invitations, and templates. Start with a clear image, test the finished font in a small design, and keep your original source files and licensing details organized as your brand grows.
Ready to turn your image into a font?
Upload any image and get a real, downloadable .TTF font file in seconds.
Try Snapafont Free →