Using a custom font in Figma can make the difference between a generic-looking mockup and a design that accurately reflects a real brand. Whether you are working with a company typeface, a purchased font license, a handwritten font, or a font you created yourself, the basic goal is the same: make the font available to Figma’s text tools so you can select it, edit with it, and hand off designs confidently.
The good news is that a Figma custom font setup is usually straightforward. The important quirk is that Figma does not work exactly like a traditional desktop design application. On the desktop app, Figma can generally access fonts installed on your computer. In the browser, it needs permission to access local fonts through a small companion utility called the Figma Font Helper. If a font does not appear, the cause is normally a missing installation, an inactive helper, an unsupported or damaged file, or a simple restart issue.
This guide explains how to install font Figma can recognize on macOS and Windows, how the desktop and web versions differ, how to use TTF in Figma, and what to check when your preferred typeface is missing. The same process works for most OpenType (.otf) and TrueType (.ttf) font files, provided you have the right to use them.
Figma Desktop vs. Figma in the Browser: What Changes?
Before installing anything, it helps to understand where Figma gets its font list. Figma is a cloud-based design tool, but the fonts you see in its picker are not automatically uploaded to every Figma file. Instead, Figma can use two broad sources: fonts available through Figma’s own web-font services and fonts installed locally on the device you are currently using.
In the Figma desktop app for macOS or Windows, local fonts are usually detected directly from the operating system. Install a font, restart Figma if necessary, and it should become available in the font menu. This is the simplest option when you routinely use custom typography.
In the web version of Figma, your browser cannot freely read your system’s fonts by default. To bridge that privacy and security boundary, Figma uses the Figma Font Helper, sometimes called the Font Installer or font service. Once it is installed and running, browser-based Figma can access the fonts installed on your machine. You still install the actual font through macOS or Windows first; the helper only lets the browser version discover it.
There is one especially important collaboration consideration: a Figma local font is local to the machine where it is installed. If you share a file with a teammate who does not have that font, they may see a missing-font warning and Figma will substitute another typeface. The layout can shift because letter widths, line heights, and kerning differ. For brand projects, give collaborators the licensed font files and installation instructions, or use a shared font-management workflow approved by your organization.
It is also worth separating the phrase “Figma font upload” from what actually happens. In most cases, you do not upload a font directly into an individual Figma design file. You install it on your computer and let Figma detect it. Organization-level plans may offer additional font-management options, but local installation remains the standard route for individual designers and smaller teams.
How to Install a Custom Font in Figma on Mac
Install the font with Font Book, then refresh Figma
On a Mac, the built-in Font Book application is the most reliable way to add a font to Figma. Start by downloading your font file from a trusted source. You will commonly receive a .ttf, .otf, .woff, or .woff2 file, but for local design work, .ttf and .otf are the most useful formats. If you want to use TTF in Figma, a standard TrueType file is normally all you need.
First, locate the downloaded file in Finder. If it arrived in a ZIP archive, double-click the ZIP file to extract it before continuing. Then double-click the .ttf or .otf file. macOS opens a preview window with information about the typeface. Select Install Font in the bottom-right corner. Font Book will add it to your user library, meaning it is available to your account without changing fonts for other Mac users.
You can also open Font Book directly, choose File > Add Fonts to Current User, select your font files, and click Open. This approach is useful when installing an entire family at once, such as Regular, Italic, Medium, Semibold, Bold, and Bold Italic. Install every weight you expect to use. Otherwise, selecting “Bold” in a Figma text layer may produce an artificial bold style instead of the genuine font file, which can look noticeably different.
After installation, quit and reopen the Figma desktop app. In a Figma file, select a text layer, click the font name in the right-side Design panel, and search for the font family. Choose the desired family and weight. If you are using Figma in Chrome, Safari, or another browser, make sure the Figma Font Helper is active as well; the installation alone is not always enough for browser-based editing.
For a quick verification step, open Font Book and search for the family name. If Font Book lists the font but Figma does not, the issue is likely Figma’s font detection or the web helper rather than the Mac installation. Restarting both Figma and the browser often resolves this.
How to Add a Font to Figma on Windows
Use the Windows font installer and install complete font families
Windows handles custom font installation through the Fonts settings area or the file context menu. Begin by downloading and extracting the font package. Right-click a .ttf or .otf file and choose Install to add it for your current Windows account. Choose Install for all users if you have administrator access and want every account on the computer to use it.
Another option is to open Settings, go to Personalization > Fonts, and drag the font file into the “Add fonts” area. This is handy when you have a folder containing several styles. As with macOS, install the full family whenever possible. A package named Northstar might include Northstar Regular, Northstar Medium, Northstar Bold, and Northstar Italic. Installing only Regular limits what Figma can use and can cause inconsistent styling in existing files.
Once Windows confirms the installation, close and reopen Figma Desktop. Select a text layer, open the font picker, and type the name of the font family into the search field. The font may appear under its internal family name rather than the file name. For example, a file named “AcmeBrand-Text-Regular.ttf” may show up simply as “Acme Brand Text.” Checking the font preview in Windows Settings can help identify the correct name.
If you use browser Figma, install or update the Figma Font Helper after adding the font. The helper needs to be running on the same computer and user account where the font was installed. A font installed on a work laptop will not automatically appear when you open the same Figma project from a home desktop.
For teams using managed Windows devices, software installation policies may prevent you from installing fonts or running the helper. Ask your IT administrator to install the licensed font centrally or to approve the required font utility. Do not work around company security controls by downloading unverified font files or installers.
What the Figma Font Helper Does—and When You Need It
The Figma Font Helper is a small desktop component that lets the browser version of Figma access fonts installed on your computer. It does not create, convert, or upload a font. It simply provides a secure connection between Figma in the browser and your local font library.
You typically need it when you use Figma at figma.com in a browser and want to edit text with a custom font in Figma. If you only use the Figma desktop application, you may not need to think about the helper at all. Still, installing it can be useful if you switch between the app and browser during your workflow.
When a Figma file uses a font that is not available, Figma usually displays a missing-font notice when you open the file or select a text layer. Follow the prompt to install the Font Helper if Figma offers it. You can also check Figma’s desktop-app or font-support documentation for the current installer, because exact download wording and operating-system permission prompts can change over time.
After installation, completely close your browser and reopen it. On some systems, you may also need to sign out and back into Figma or restart the computer. Then open a design file, select a text object, and search the font picker again. If the helper is installed but the font remains unavailable, confirm that the font itself is installed in macOS Font Book or Windows Fonts; the helper cannot expose a font that the operating system does not recognize.
Keep the helper updated, especially after a major operating-system or browser update. An outdated helper can be a silent reason a Figma local font stops appearing even though the font worked previously.
A Reliable Workflow for Using Local Fonts in Web Figma
From font file to editable Figma text
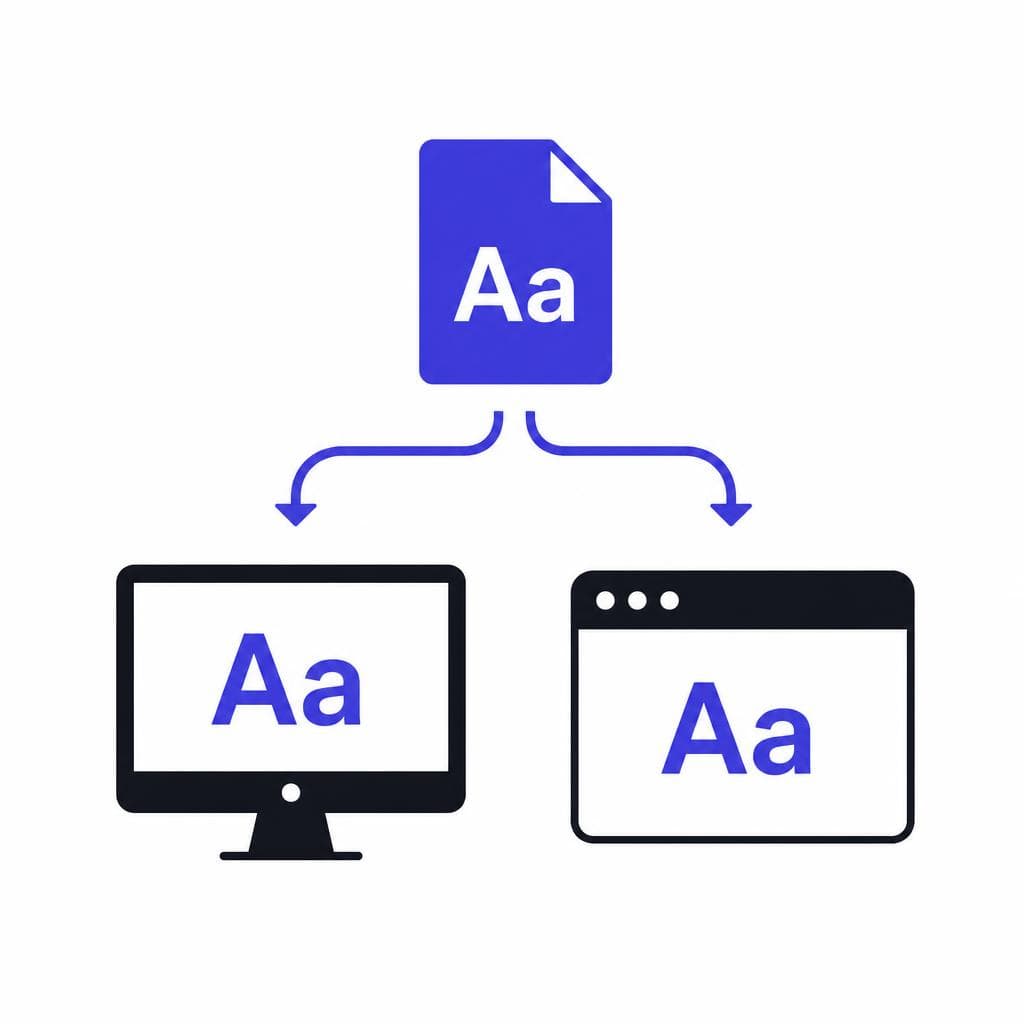
For browser-based work, use this repeatable sequence: obtain a properly licensed desktop font file, install it in your operating system, confirm it appears in the system font manager, install or activate the Figma Font Helper, restart your browser, and then select the font in Figma. Following the sequence in that order prevents the most common confusion around a Figma font upload.
As a practical example, imagine you receive “CedarSans-Regular.ttf,” “CedarSans-Medium.ttf,” and “CedarSans-Bold.ttf” from a client. Extract the files, install all three styles, and verify that “Cedar Sans” appears in Font Book or Windows Fonts. Open the Figma project in your browser, select the headline layer, search “Cedar Sans,” then choose Bold. For body text, choose Regular or Medium as specified in the brand guidelines. Since the font is local, repeat the installation steps for every teammate who needs to edit that text accurately.
Use the actual family and style names in your design system. Rather than naming a text style “Brand heading,” configure it with the correct font family, weight, size, line height, and letter spacing. This gives team members a clear visual standard and makes missing-font issues easier to diagnose. A component library with text styles such as H1 / Cedar Sans Bold / 48 and Body / Cedar Sans Regular / 16 is far more dependable than manually formatting each text box.
Be cautious with webfont-only files. WOFF and WOFF2 are primarily designed for websites, and while support can vary by tool and platform, they are not the best default for local desktop design workflows. Ask the font vendor or client for TTF or OTF files when you need to add font to Figma. Also review licensing terms: permission to use a font on a website does not necessarily grant desktop-app installation, editable design-file use, or distribution to contractors.
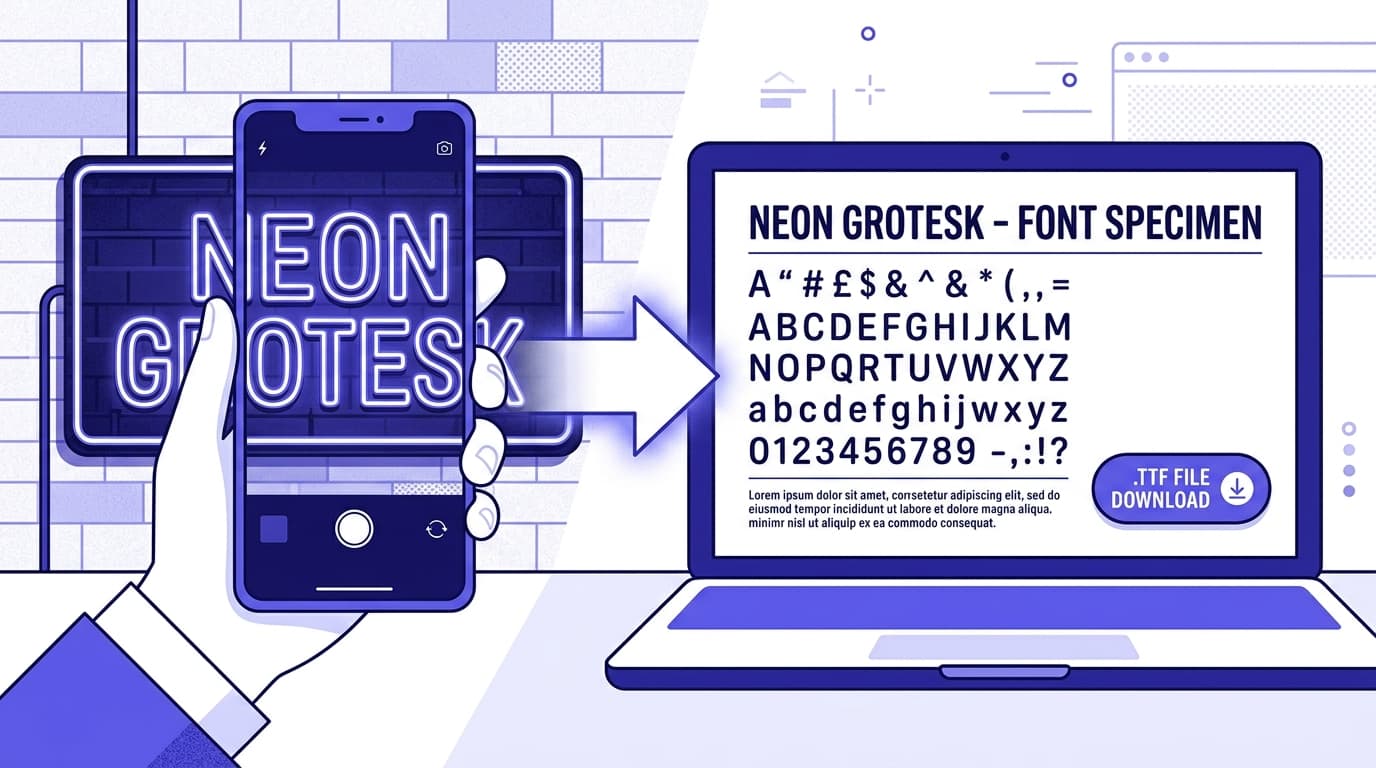
If you created lettering from an image and need an editable font rather than a flattened graphic, convert the character set into a valid font file first. Snapafont can turn a clean image of letterforms into a downloadable .TTF font, which you can then install through the same Mac or Windows process described above. Before relying on it in production, test uppercase and lowercase letters, punctuation, numerals, spacing, and the weights or character coverage your layout requires.
Troubleshooting: Why Your Font Is Not Showing in Figma
Check these common causes before rebuilding your design
If your custom typeface does not appear, work through the following checks one at a time. Most problems have a simple fix.
First, confirm that the font is installed, not merely downloaded. A .ttf file sitting in Downloads is not available to Figma until you add it through Font Book or Windows Fonts. Next, restart Figma Desktop or fully close and reopen your browser. Font lists are often loaded when the application starts, so leaving an old tab open may preserve an outdated list.
Second, make sure you are searching for the font’s family name. Font filenames, PostScript names, and menu names can differ. Search with fewer words—for instance, try “Cedar” instead of “CedarSans-Regular.” If you have several versions of the same font installed, remove duplicate or outdated copies in Font Book or Windows Fonts. Duplicate families can lead to unexpected weights, naming conflicts, or a font that appears in one app but not another.
Third, if you are working on the web, check the Figma Font Helper. Reinstall or update it if needed, then restart the browser. Corporate firewalls, device-management tools, antivirus software, and browser permission policies can interfere with helper utilities. In that situation, use the Figma desktop app as a quick diagnostic: if the font works there but not in the browser, the font installation is probably fine and the helper or browser environment is the issue.
Fourth, inspect the font file itself. A damaged download, incomplete conversion, or font with incorrect internal metadata may fail to load. Test it in another desktop application such as a word processor or image editor. If it is absent there too, download a fresh copy from the source or ask for a properly exported TTF or OTF. When generating a font from artwork, use clean, high-contrast source letters and review the resulting font in a test document before building a full Figma library around it.
Finally, distinguish between missing fonts and missing permissions. Figma may show a font in a file but prevent you from editing a layer because you have view-only access. Request edit permission from the file owner before assuming the font setup is broken. Likewise, do not convert text to outlines merely to avoid missing-font notices unless the file is being finalized for a limited handoff; outlines remove the easy editability that makes Figma typography useful.
Turn Your Lettering Into a Font You Can Use in Figma
A custom font workflow is most useful when the typeface is available as a real, editable font file—not just an image pasted into a design. Once you have a valid TTF or OTF, adding it to Figma is a repeatable process: install it on your computer, enable the Font Helper for browser work, and make sure collaborators have the same licensed family.
If your starting point is a photo, scan, hand-drawn alphabet, logo lettering, or other image-based character set, Snapafont can help you create a downloadable .TTF font file from it. Visit snapafont.com to turn your lettering into an installable font, then test it in Figma with a small sample page before rolling it into your components and text styles. That gives you a practical path from visual inspiration to editable, reusable typography.
Ready to turn your image into a font?
Upload any image and get a real, downloadable .TTF font file in seconds.
Try Snapafont Free →